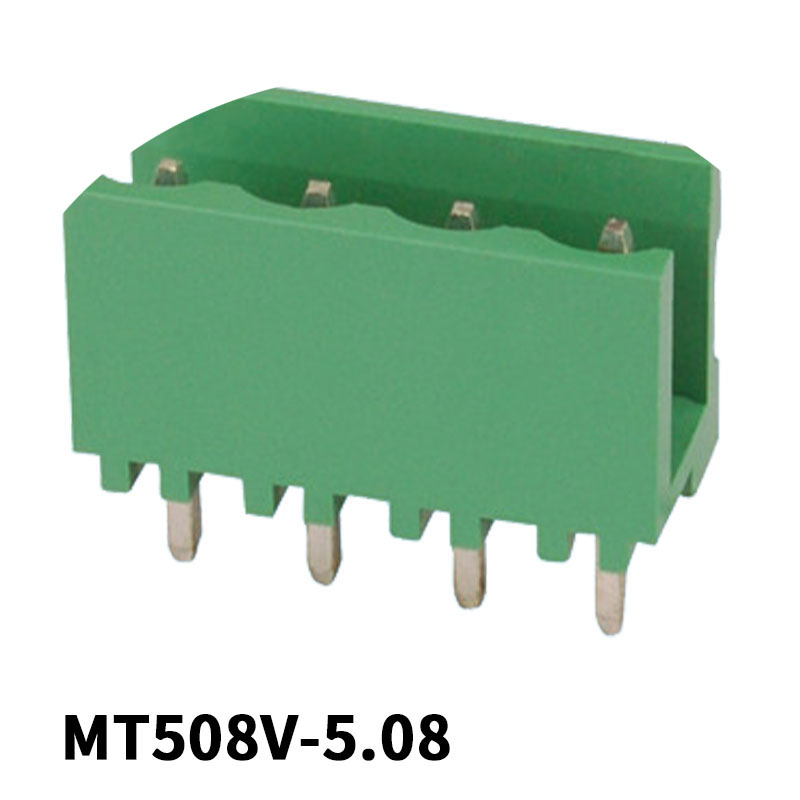
With the continuous increase of terminal connector functions, its structure is becoming more and more complex, and its volume is becoming more and more miniaturized. The difficulty of connector size measurement and appearance defect detection is also increasing. Traditional manual inspection methods are increasingly unable to meet the quality inspection requirements of connector products. Machine vision automated inspection equipment must be used to ensure the accuracy, efficiency and accuracy of the inspection.
At present, the commonly used testing equipment for terminal connectors is a two-dimensional measuring instrument, also called an image measuring instrument or a video measuring instrument, which is suitable for all application fields for the purpose of two-dimensional size measurement, and is widely used in machinery, mobile phone electronics, instrumentation, plastics and other industries.

The second element transfers the captured images to the computer data acquisition card through the data line through the projection method, and then the software is imaged on the computer monitor; various geometric elements (points, lines, circles, Arc, ellipse, rectangle), distance, angle, point of intersection, shape tolerance (roundness, straightness, parallelism, perpendicularity, inclination, position, concentricity, symmetry) measurement, and 2D contour CAD output for drawing. Therefore, it can not only observe the contour of the workpiece, but also measure the surface shape of the opaque workpiece.
The two-dimensional measuring instrument is currently one of the most widely used measuring equipment in the industry. Compared with the traditional caliper detection, it can better meet the requirements of the modern production and manufacture of connectors, improve production efficiency, and ensure the quality of product shipments.